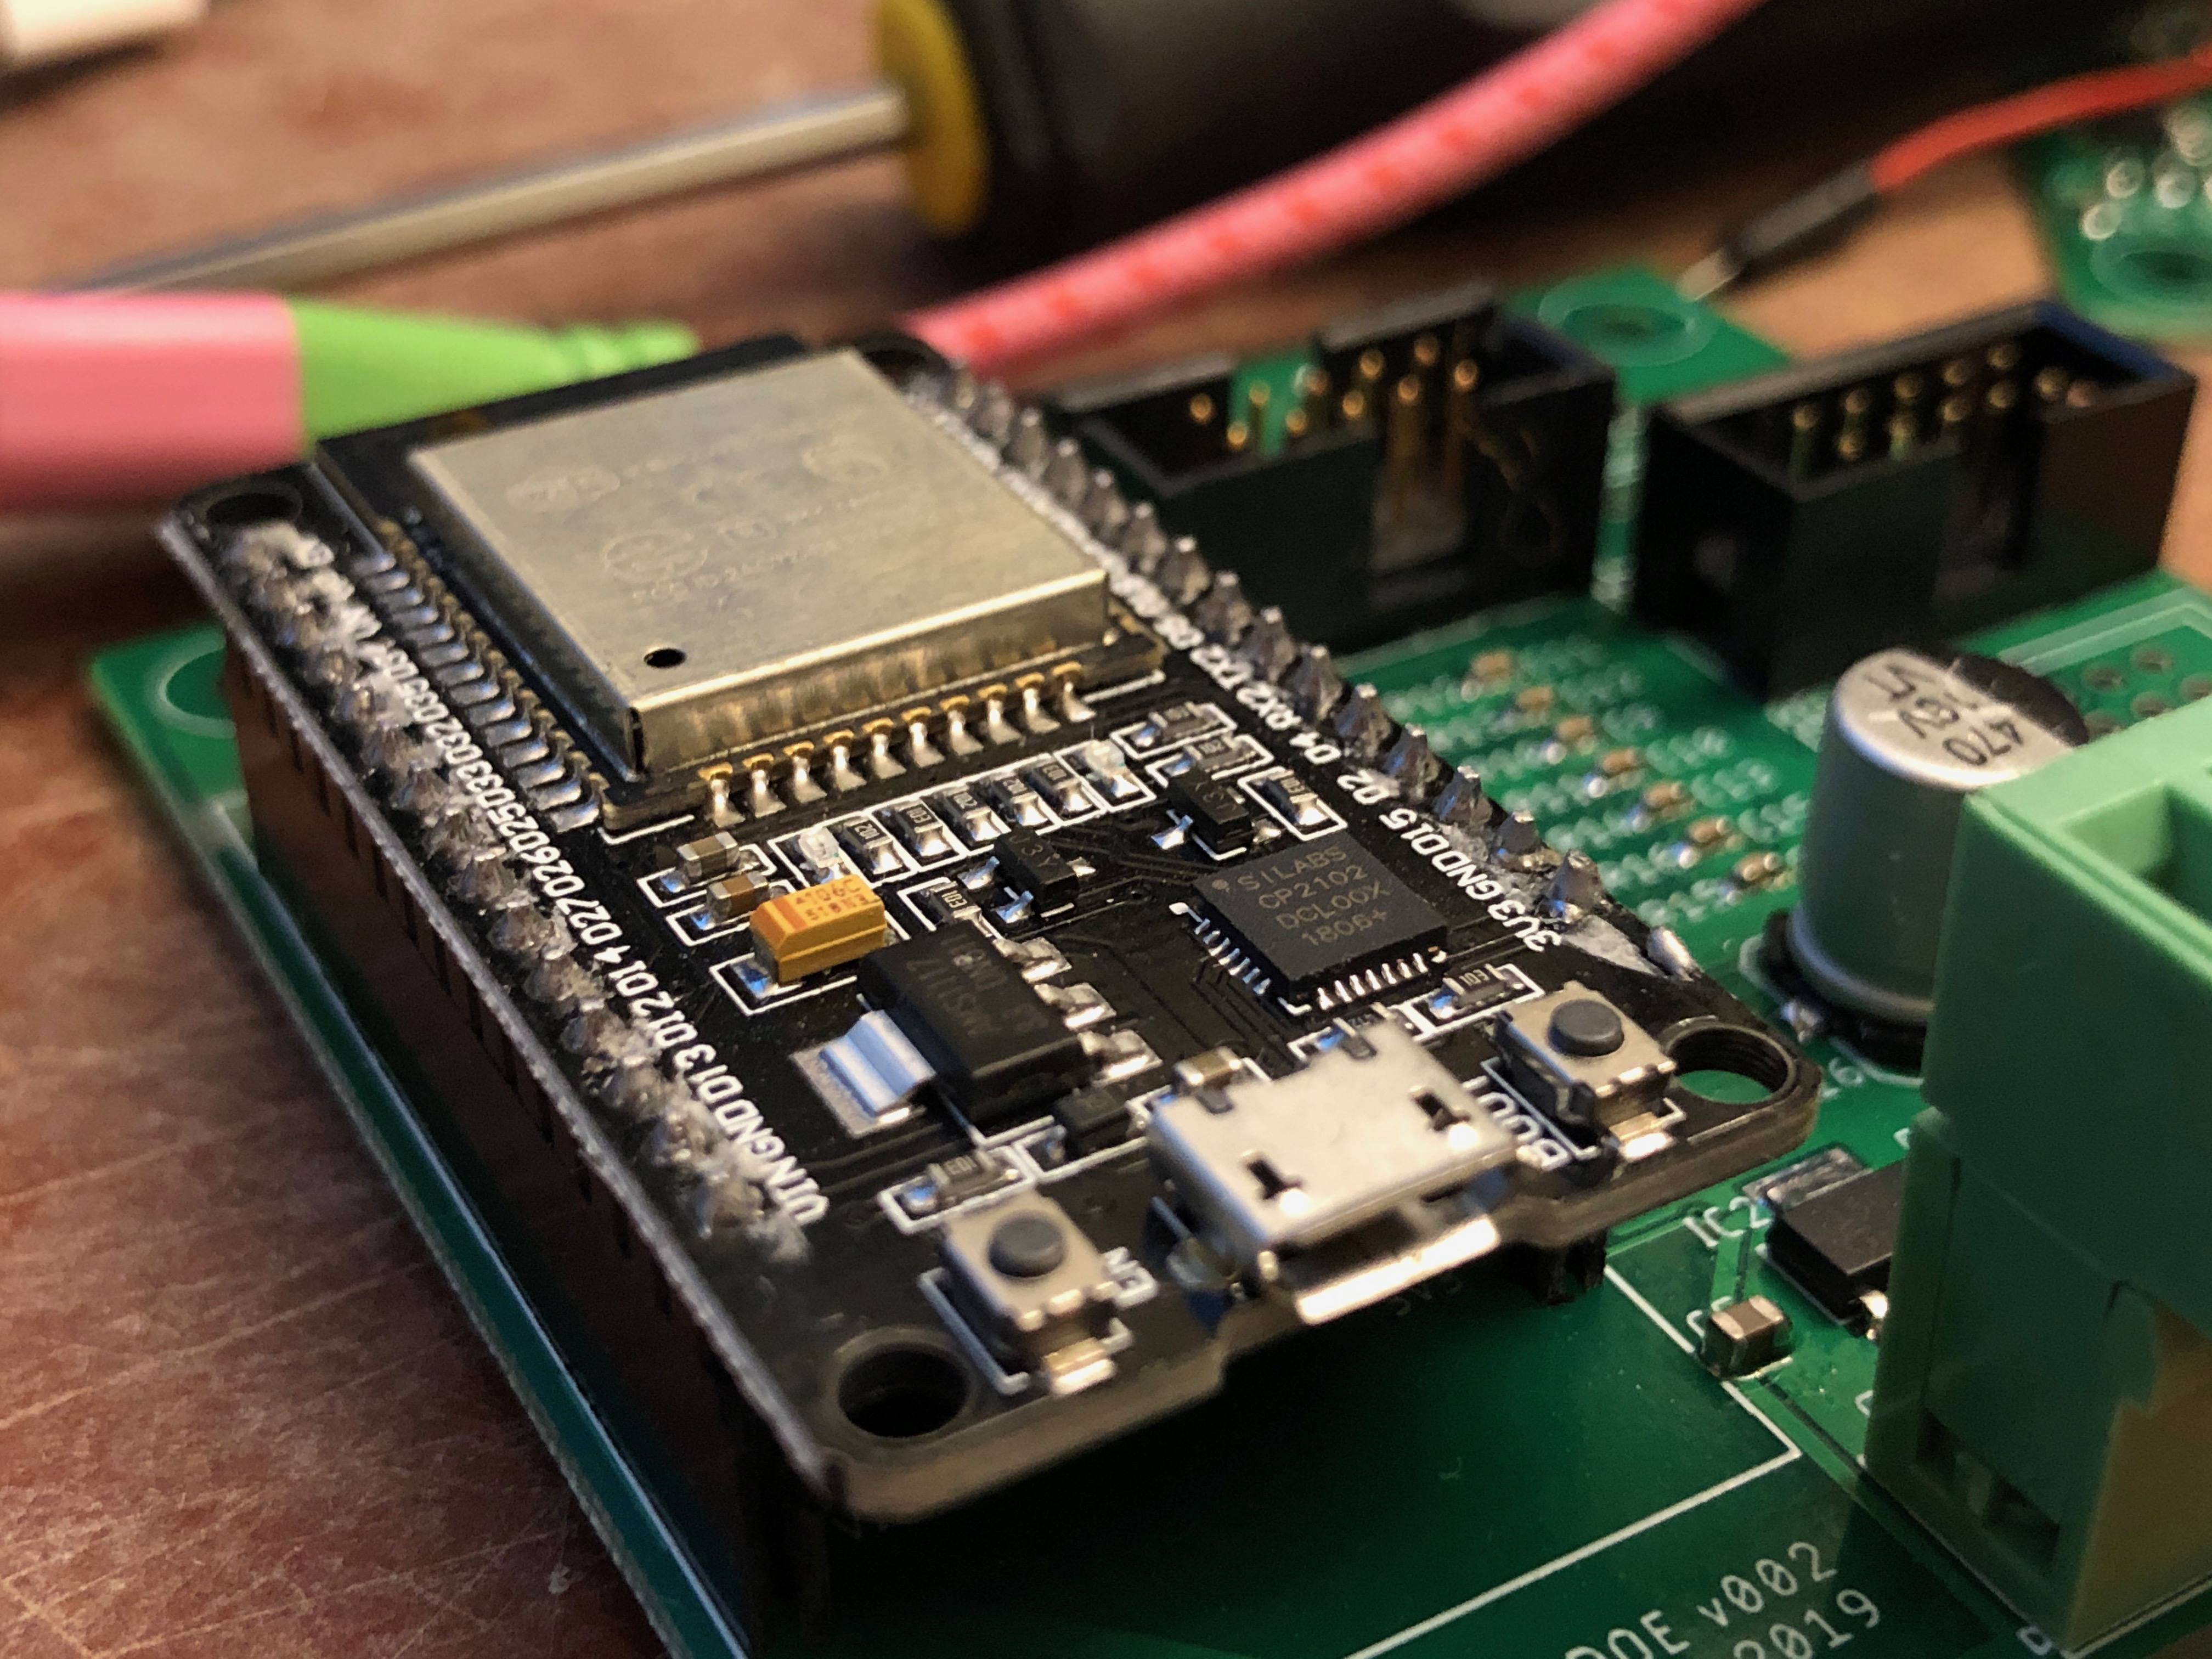
Gone are the days of using an 8bit processor for embedded projects at home. Gone are the days of using a 16bit processor for embedded projects at home. Gone are the days of using a single core processor for embedded projects at home. The newish player in the game is the ESP32, a 240Mhz dual core processor with WiFi, Bluetooth and more storage than most projects would ever use. All this can be found for $3-4 dollars in unit quantities. Let’s walk through what you need to do to get a simple development environment on a Mac.
Step 1 – Install the USB Drivers
The USB drivers for most available ESP32 dev kits are by Silicon Labs. Go to their website and install the latest drivers for the Mac.
Step 2 – Install the Arduino IDE
The Arduino IDE is horrible and you’ll probably eventually use something else, but it does include the easiest tool chain to get started. We’ll start here and then move to another environment later.
- Go to:
- https://www.arduino.cc/en/Main/Software
- Download and install Arduino for Mac OS X
Step 3 – Install the ESP32 Board
Once you have the IDE installed, you need to install support for the ESP32 platform.
- Open the Arduino IDE
- Go to:
- Arduino
- Preferences
- Under “Additional Boards Manager URLs” enter:
- https://dl.espressif.com/dl/package_esp32_index.json
- Go to:
- Tools
- Boards
- Board Manger
- Search for esp32
- Install it
Step 4 – You’re done!
That’s it. Go find some sample code and select your Development board and get going!
- Go to:
- Tools
- Boards
- Select your board
- Have fun!